
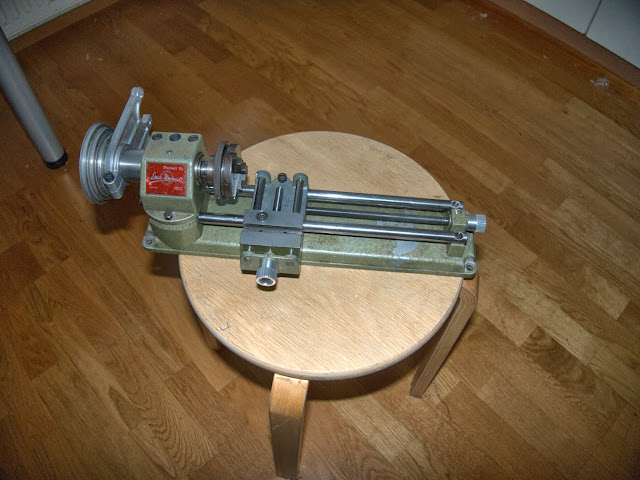
I decided to transform my lathe into a CNC-lathe. Reason for this was I have wanted CNC-something. I was browsing ebay one day and found CNC-kit for my Unimat SL lathe so I decided to order it, and see if I could build a CNC-lathe.
The kit contained:
- Two stepper motors
- Power supply (decided not to use)
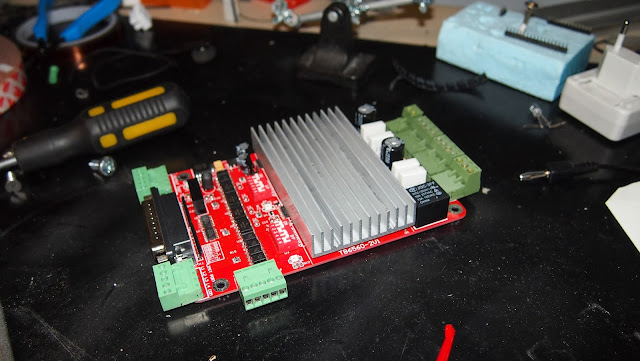
- One 2 axis stepper controller
- Two pulleys for the lead screws
- Two pulleys for the motors
- Two timing belts
- Mounting hardware for the motors
Next step was to think of a place to put all the electronics including stepper controller, power supply, and relays. I decided i wanted the electronics box to be independent so it could be disconnected from the lathe. This choice meant it needs to have connectors for all the peripherals steppers, emergency stop, spindle motor, and limit switches. For power supply I chose a Mean Well 24V 13A unit I had lying around.


For stepper motor and limit switch connectors I decided to use din connectors, because they are cheap and readily available. I selected C8 connector for emergency stop. For spindle motor power feed I selected Cliffcon FCR20xx HV connector. This connector is a four pole 250V 20A connector that is touchproof, so you cant get 230V zap from the connector. Connector for computer side communication is a traditional DB25 or as it’s commonly know an LPT connector.


Next step is to drill holes for the connectors and start to designing what connects to what and how.